Version v2.7.0 of the documentation is no longer actively maintained. The site that you are currently viewing is an archived snapshot. For up-to-date documentation, see the latest version.
Installation
Install Pigsty with 4 steps: Prepare, Download, Configure and Install.
Also check offline installation if you don’t have the Internet access.
Short Version
Prepare a fresh Linux x86_64 node that runs compatible OS, then run as a sudo-able user:
It will download Pigsty source to your home, then perform configure and install to finish the installation.
A pigsty singleton node will be ready with Web Interface on port 80/443 and Postgres service on port 5432.
You can add more nodes into Pigsty and deploy modules on them.
Example: Online Singleton Installation on Ubuntu 22.04:

Example: Install with Offline Package (EL8)

Prepare
Check Preparation for a complete guide of resource preparation.
Pigsty support the Linux kernel and x86_64/amd64 arch. It can run on any nodes: bare metal, virtual machines, or VM-like containers, but a static IPv4 address is required.
The minimum spec is 1C1G. It is recommended to use bare metals or VMs with at least 2C4G. There’s no upper limit, and node param will be auto-tuned.
We recommend using fresh RockyLinux 8.9 or Ubuntu 22.04.3 as underlying operating systems. For a complete list of supported operating systems, please refer to Compatibility.
Public key ssh access to localhost and NOPASSWD sudo privilege is required to perform the installation, Try not using the root user.
If you wish to manage more nodes, these nodes needs to be ssh / sudo accessible via your current admin node & admin user.
Pigsty relies on Ansible to execute playbooks. you have to install ansible and jmespath packages fist to run the install procedure.
This can be done with the following command, or through the bootstrap procedure, especially when you do not have internet access..
sudo dnf install -y ansible python3.11-jmespath python3-cryptography
sudo yum install -y ansible # EL7 does not need to install jmespath explicitly
sudo apt install -y ansible python3-jmespath
brew install ansible
While it is possible to install Pigsty as the root user, It would be much safer using a dedicate admin user (dba, admin, …). due to security consideration
which has to be different from root and dbsu (postgres). Pigsty will create an optional admin user dba according to the config by default.
Download
You can get & extract pigsty source via the following command:
Download Example Output
HINT: To install a specific version, passing the version string as the first parameter:
If you don’t have the Internet access, check offline installation for details. You can download the source tarball with the following links and upload them with scp, ftp, etc…
- GitHub: https://github.com/Vonng/pigsty/releases/download/v2.7.0/pigsty-v2.7.0.tgz
- Mirror: https://get.pigsty.cc/v2.7.0/pigsty-v2.7.0.tgz
You can also use git to download the Pigsty source. Please make sure to check out a specific version before using.
The master branch may in an unstable development status.
Always checkout a version when using git, check Release Notes for available versions.
Configure
configure will create a pigsty.yml config file according to your env.
This procedure is OPTIONAL if you know how to configure pigsty manually.
Configure Example Output
-m|--mode: Generate config from templates according tomode: (auto|demo|sec|citus|el|el7|ubuntu|prod...)-i|--ip: Replace IP address placeholder10.10.10.10with your primary ipv4 address of current node.-r|--region: Set upstream repo mirror according toregion(default|china|europe)-n|--non-interactive: skip interactive wizard and using default/arg values-x|--proxy: write current proxy env to the configproxy_env(http_proxy/HTTP_PROXY,HTTPS_PROXY,ALL_PROXY,NO_PROXY)
When -n|--non-interactive is specified, you have to specify a primary IP address with -i|--ip <ipaddr> in case of multiple IP address,
since there’s no default value for primary IP address in this case.
If your machine’s network interface have multiple IP addresses, you’ll need to explicitly specify a primary IP address for the current node using -i|--ip <ipaddr>, or provide it during interactive inquiry. The address should be a static IP address, and you should avoid using any public IP addresses.
You can check and modify the generated config file ~/pigsty/pigsty.yml before installation.
PLEASE CHANGE THE DEFAULT PASSWORDs in the config file before installation, check secure password for details.
Install
Run the install.yml playbook to perform a full installation on current node
Installation Output Example
It’s a standard ansible playbook, you can have fine-grained control with ansible options:
-l: limit execution targets-t: limit execution tasks-e: passing extra args-i: use another config- …
It’s very DANGEROUS to re-run install.yml on existing deployment!**
You can use chmod a-x install.yml to avoid accidental execution.
Interface
Once installed, you’ll have four core modules PGSQL, INFRA, NODE, and ETCD the current node.
The PGSQL provides a PostgreSQL singleton which can be accessed via:
psql postgres://dbuser_dba:[email protected]/meta # DBA / superuser (via IP)
psql postgres://dbuser_meta:[email protected]/meta # business admin, read / write / ddl
psql postgres://dbuser_view:DBUser.View@pg-meta/meta # read-only user
The INFRA module gives you an entire modern observability stack, exposed by Nginx on (80 / 443):
There are several services are exposed by Nginx (configured by infra_portal):
| Component | Port | Domain | Comment | Public Demo |
|---|---|---|---|---|
| Nginx | 80/443 | h.pigsty |
Web Service Portal, Repo | home.pigsty.cc |
| AlertManager | 9093 | a.pigsty |
Alter Aggregator | a.pigsty.cc |
| Grafana | 3000 | g.pigsty |
Grafana Dashboard Home | demo.pigsty.cc |
| Prometheus | 9090 | p.pigsty |
Prometheus Web UI | p.pigsty.cc |
Grafana Dashboards (g.pigsty, port 3000) credentials, user:
admin/ pass:pigsty
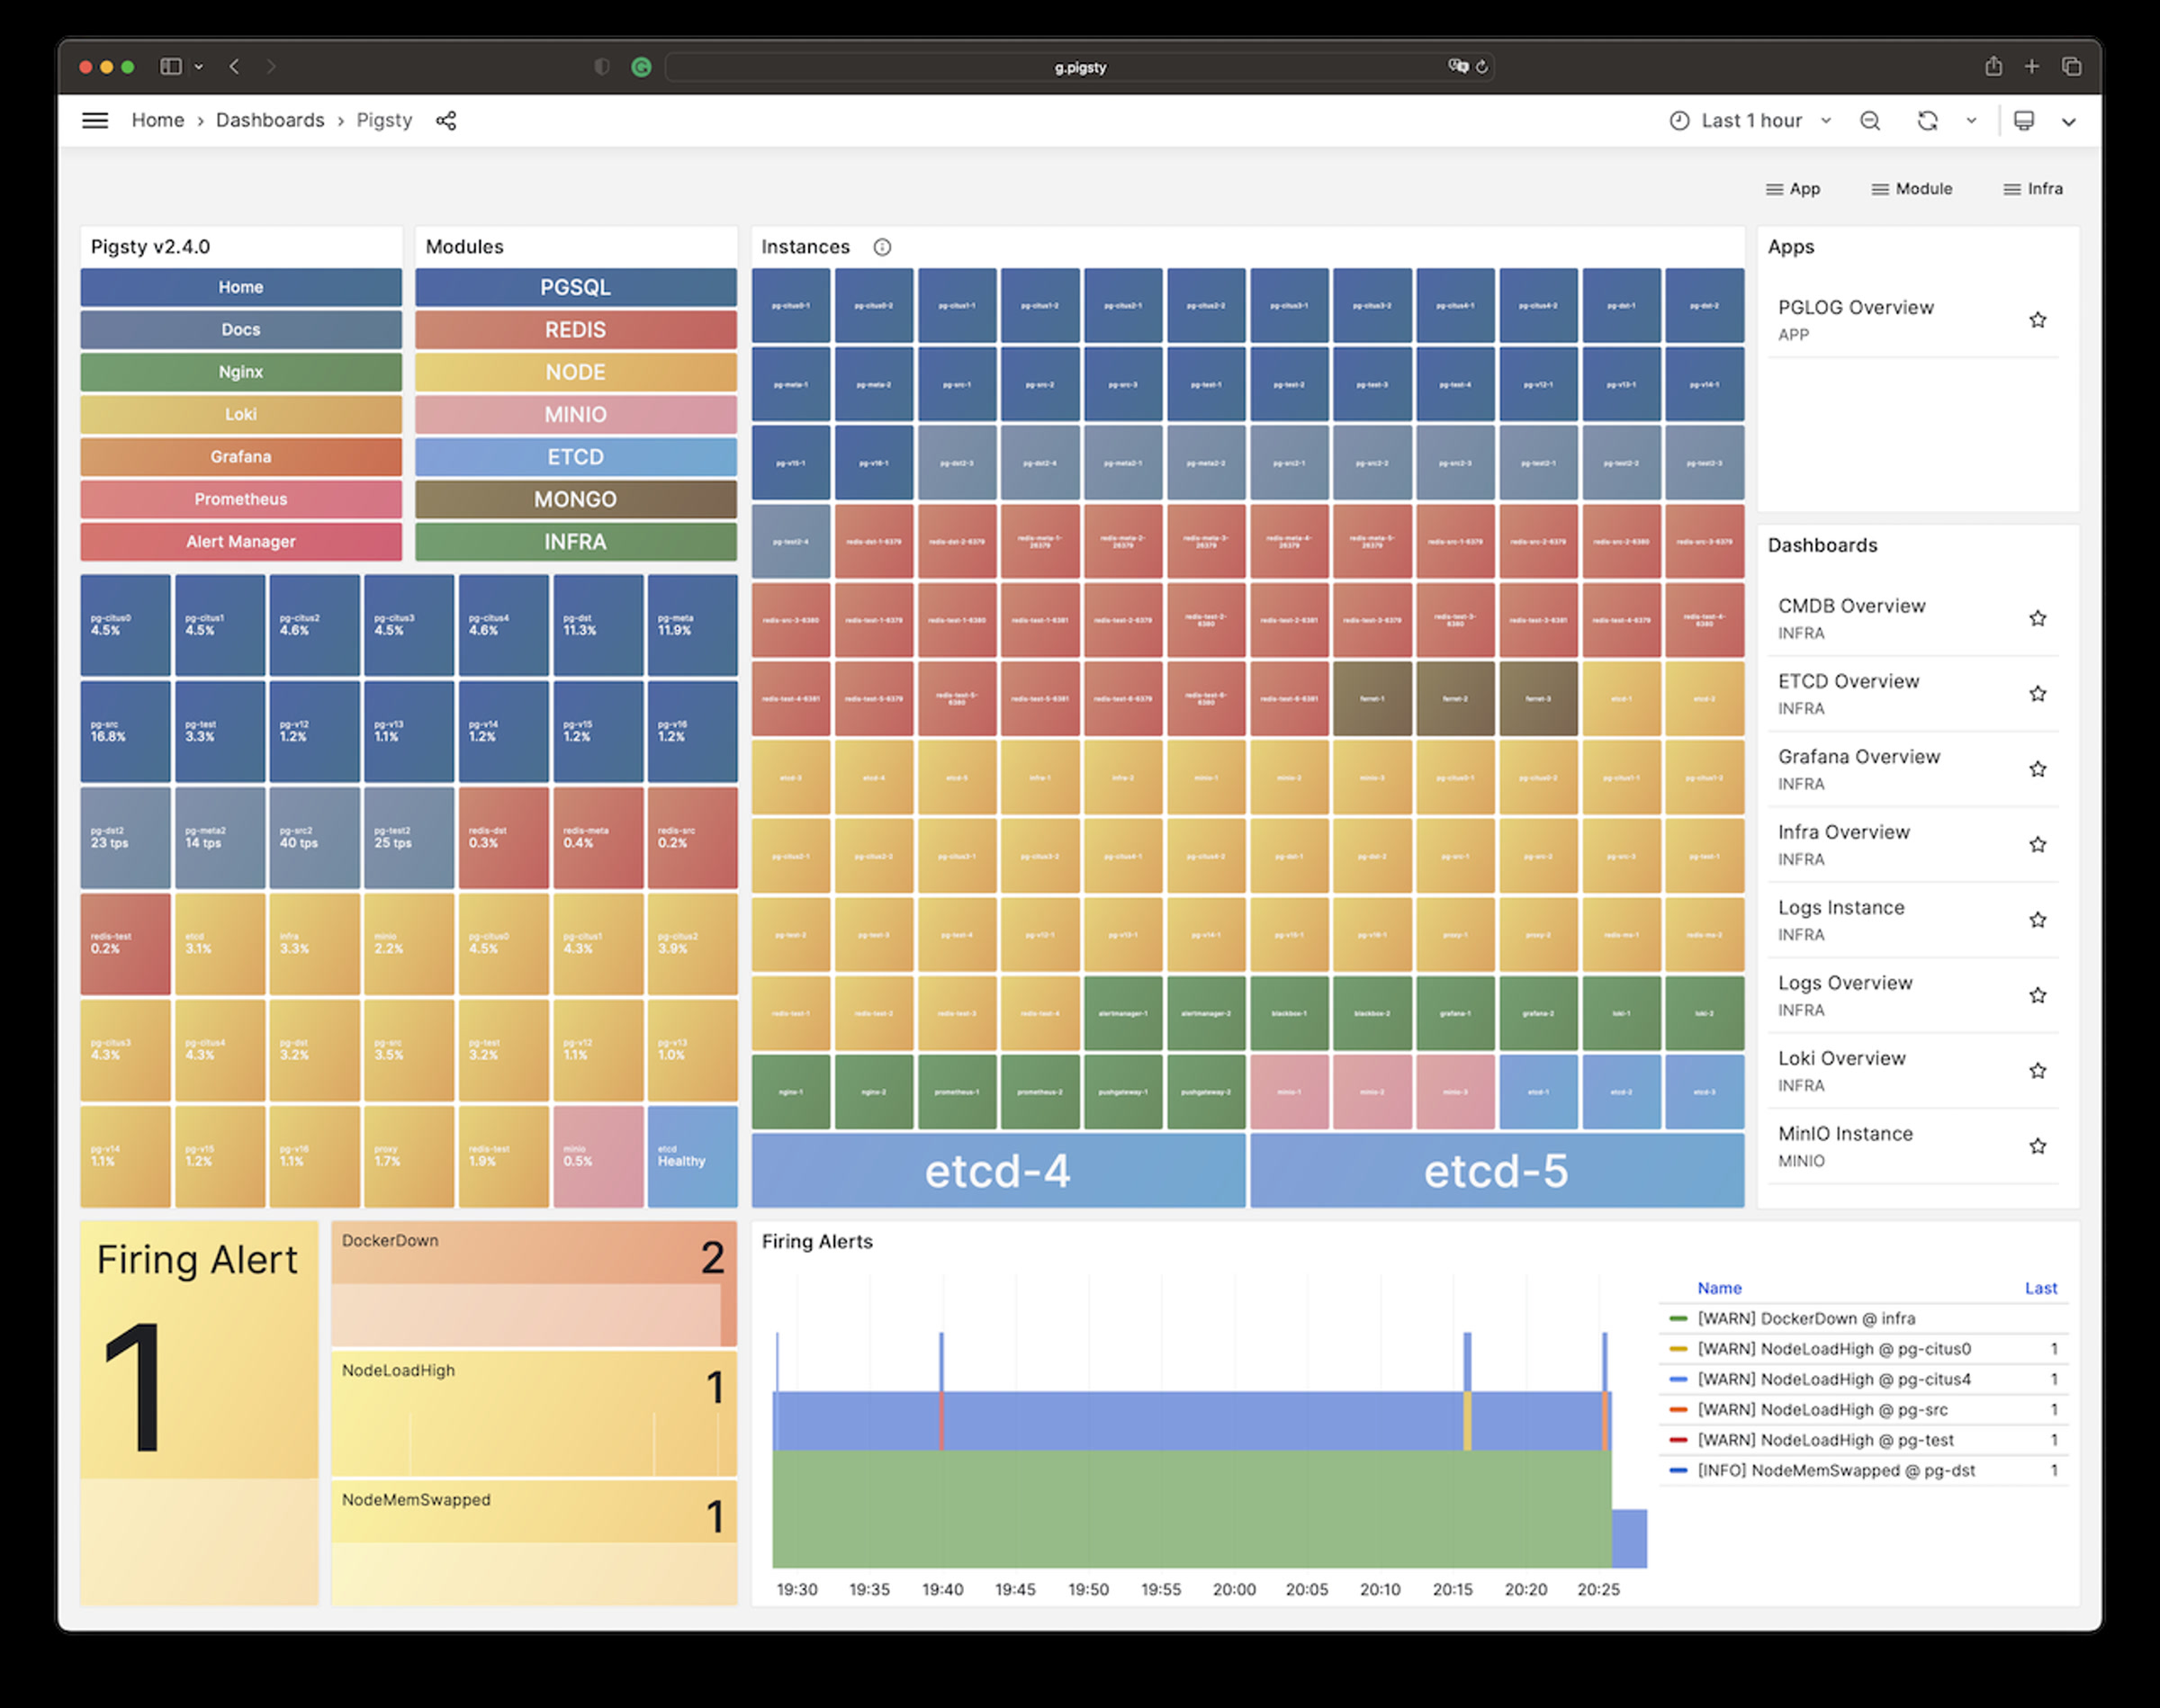
You can access these web UI directly via IP + port. While the common best practice would be access them through Nginx and distinguish via domain names. You’ll need configure DNS records, or use the local static records (/etc/hosts) for that.
How to access Pigsty Web UI by domain name?
There are several options:
- Resolve internet domain names through a DNS service provider, suitable for systems accessible from the public internet.
- Configure internal network DNS server resolution records for internal domain name resolution.
- Modify the local machine’s
/etc/hostsfile to add static resolution records. (For Windows, it’s located at:)
We recommend the third method for common users. On the machine (which runs the browser), add the following record into /etc/hosts (sudo required) or C:\Windows\System32\drivers\etc\hosts in Windows:
You have to use the external IP address of the node here.
How to configure server side domain names?
The server-side domain name is configured with Nginx. If you want to replace the default domain name, simply enter the domain you wish to use in the parameter infra_portal. When you access the Grafana monitoring homepage via http://g.pigsty, it is actually accessed through the Nginx proxy to Grafana’s WebUI:
If nginx_sslmode is set to enabled or enforced, you can trust self-signed ca: files/pki/ca/ca.crt to use https in your browser.
How to use HTTPS in Pigsty WebUI?
Pigsty will generate self-signed certs for Nginx, if you wish to access via HTTPS without “Warning”, here are some options:
- Apply & add real certs from trusted CA: such as Let’s Encrypt
- Trust your generated CA crt as root ca in your OS and browser
- Type
thisisunsafein Chrome will supress the warning
More
You can deploy & monitor more clusters with pigsty: add more nodes to pigsty.yml and run corresponding playbooks:
Remember that most modules require the [NODE] module installed first. Check modules for detail
PGSQL, INFRA, NODE, ETCD, MINIO, REDIS, MONGO, DOCKER, ……