PostgreSQL is the most popular database in the world, and countless software is built on PostgreSQL, around PostgreSQL, or serves PostgreSQL itself, such as
“Application software” that uses PostgreSQL as the preferred database
“Tooling software” that serves PostgreSQL software development and management
“Database software” that derives, wraps, forks, modifies, or extends PostgreSQL
And Pigsty just have a series of Docker Compose templates for these software, application and databases:
Expose PostgreSQL & Pgbouncer Metrics for Prometheus
How to prepare Docker?
To run docker compose templates, you need to install the DOCKER module on the node,
If you don’t have the Internet access or having firewall issues, you may need to configure a DockerHub proxy, check the tutorial.
1 - Odoo: OSS ERP for Enterprise
How to self-hosting the eopn source ERP – odoo
Odoo is an open-source enterprise resource planning (ERP) software
that provides a full suite of business applications, including CRM, sales, purchasing, inventory, production, accounting, and other management functions. Odoo is a typical web application that uses PostgreSQL as the underlying database.
All your business on one platform, Simple, efficient, yet affordable
Get Started
Check .env file for configurable environment variables:
make up # pull up odoo with docker compose in minimal modemake run # launch odoo with docker , local data dir and external PostgreSQLmake view # print odoo access pointmake log # tail -f odoo logsmake info # introspect odoo with jqmake stop # stop odoo containermake clean # remove odoo containermake pull # pull latest odoo imagemake rmi # remove odoo imagemake save # save odoo image to /tmp/docker/odoo.tgzmake load # load odoo image from /tmp/docker/odoo.tgz
Use External PostgreSQL
You can use external PostgreSQL for Odoo. Odoo will create its own database during setup, so you don’t need to do that
pg_users:[{name:dbuser_odoo ,password:DBUser.Odoo ,pgbouncer:true ,roles:[ dbrole_admin ] ,comment:admin user for odoo database } ]pg_databases:[{name:odoo ,owner:dbuser_odoo ,revokeconn:true ,comment:odoo primary database } ]
And create business user & database with:
bin/pgsql-user  pg-meta  dbuser_odoo
#bin/pgsql-db    pg-meta  odoo     # odoo will create the database during setup
cd app/supabase; make up # https://supabase.com/docs/guides/self-hosting/docker
Then you can access the supabase studio dashboard via http://<admin_ip>:8000 by default, the default dashboard username is supabase and password is pigsty.
You can also configure the infra_portal to expose the WebUI to the public through Nginx and SSL.
Database
Supabase require certain PostgreSQL extensions, schemas, and roles to work, which can be pre-configured by Pigsty: supabase.yml.
The following example will configure the default pg-meta cluster as underlying postgres for supabase:
# supabase example cluster: pg-meta# this cluster needs to be migrated with app/supabase/migration.sql :# psql postgres://supabase_admin:[email protected]:5432/supa -v ON_ERROR_STOP=1 --no-psqlrc -f ~pigsty/app/supabase/migration.sqlpg-meta:hosts:{10.10.10.10:{pg_seq:1, pg_role:primary } }vars:pg_cluster:pg-metapg_users:# supabase roles: anon, authenticated, dashboard_user- {name:anon ,login:false}- {name:authenticated ,login:false}- {name:dashboard_user ,login:false ,replication:true ,createdb:true ,createrole:true}- {name:service_role ,login:false ,bypassrls:true}# supabase users: please use the same password- {name:supabase_admin ,password:'DBUser.Supa' ,pgbouncer:true ,inherit:true ,superuser:true ,replication:true ,createdb:true ,createrole:true ,bypassrls:true}- {name:authenticator ,password:'DBUser.Supa' ,pgbouncer:true ,inherit:false ,roles:[authenticated ,anon ,service_role ] }- {name:supabase_auth_admin ,password:'DBUser.Supa' ,pgbouncer:true ,inherit:false ,createrole:true}- {name:supabase_storage_admin ,password:'DBUser.Supa' ,pgbouncer:true ,inherit:false ,createrole:true ,roles:[authenticated ,anon ,service_role ] }- {name:supabase_functions_admin ,password:'DBUser.Supa' ,pgbouncer:true ,inherit:false ,createrole:true}- {name:supabase_replication_admin ,password:'DBUser.Supa' ,replication:true}- {name:supabase_read_only_user ,password:'DBUser.Supa' ,bypassrls:true ,roles:[pg_read_all_data ] }pg_databases:- {name:meta ,baseline:cmdb.sql ,comment:pigsty meta database ,schemas:[pigsty ]}# the optional pigsty cmdb# the supabase database (pg_cron should be installed in this database after bootstrap)- name:supabaseline:supa.sql # the init-scripts: https://github.com/supabase/postgres/tree/develop/migrations/db/init-scriptsowner:supabase_admincomment:supabase postgres databaseschemas:[extensions ,auth ,realtime ,storage ,graphql_public ,supabase_functions ,_analytics ,_realtime ]extensions:- {name:pgcrypto ,schema:extensions }# 1.3 : cryptographic functions- {name:pg_net ,schema:extensions }# 0.9.1 : async HTTP- {name:pgjwt ,schema:extensions }# 0.2.0 : json web token API for postgres- {name:uuid-ossp ,schema:extensions }# 1.1 : generate universally unique identifiers (UUIDs)- {name:pgsodium } # 3.1.9 : pgsodium is a modern cryptography library for Postgres.- {name:supabase_vault } # 0.2.8 : Supabase Vault Extension- {name:pg_graphql } # 1.5.4 : pg_graphql: GraphQL support- {name:pg_jsonschema } # 0.3.1 : pg_jsonschema: Validate json schema- {name:wrappers } # 0.3.1 : wrappers: FDW collections- {name:http } # 1.6 : http: allows web page retrieval inside the database.# supabase required extensionspg_libs:'pg_net, pg_cron, pg_stat_statements, auto_explain'# add pg_net to shared_preload_librariespg_extensions:# supabase required extensions- pg_repack_16* wal2json_16* pgvector_16* pg_cron_16* pgsodium_16*- pg_graphql_16 pg_jsonschema_16 wrappers_16 vault_16* pgjwt_16* pg_net_16* pgsql_http_16*# supabase hba rules, require access from docker networkpg_hba_rules:- {user:all ,db:supa ,addr:intra ,auth:pwd ,title:'allow supa database access from intranet'}- {user:all ,db:supa ,addr:172.0.0.0/8 ,auth:pwd ,title:'allow supa database access from docker network'}- {user:all ,db:supa ,addr:all ,auth:pwd ,title:'allow supa database access from entire world'}# not safe!
Beware that baseline: supa.sql parameter will use the files/supa.sql as database baseline schema, which is gathered from here.
You also have to run the migration script: migration.sql after the cluster provisioning, which is gathered from supabase/postgres/migrations/db/migrations in chronological order and slightly modified to fit Pigsty.
You can check the latest migration files and add them to migration.sql, the current script is synced with 20231013070755.
You can run migration on provisioned postgres cluster pg-meta with simple psql command:
pg edit-config pg-meta --force -p pgsodium.enable_event_trigger='off'# setup pgsodium event triggerpsql ${PGURL} -c 'SHOW pgsodium.enable_event_trigger;'# should be off or falsepg restart pg-meta # restart pg-meta to enable the new configuration
Everything you need to care about is in the .env file, which contains important settings for supabase. It is already configured to use the pg-meta.supa database by default, You have to change that according to your actual deployment.
############# Secrets - YOU MUST CHANGE THESE BEFORE GOING INTO PRODUCTION############# you have to change the JWT_SECRET to a random string with at least 32 characters long# and issue new ANON_KEY/SERVICE_ROLE_KEY JWT with that new secret, check the tutorial:# https://supabase.com/docs/guides/self-hosting/docker#securing-your-servicesJWT_SECRET=your-super-secret-jwt-token-with-at-least-32-characters-long
ANON_KEY=eyJhbGciOiJIUzI1NiIsInR5cCI6IkpXVCJ9.eyAgCiAgICAicm9sZSI6ICJhbm9uIiwKICAgICJpc3MiOiAic3VwYWJhc2UtZGVtbyIsCiAgICAiaWF0IjogMTY0MTc2OTIwMCwKICAgICJleHAiOiAxNzk5NTM1NjAwCn0.dc_X5iR_VP_qT0zsiyj_I_OZ2T9FtRU2BBNWN8Bu4GE
SERVICE_ROLE_KEY=eyJhbGciOiJIUzI1NiIsInR5cCI6IkpXVCJ9.eyAgCiAgICAicm9sZSI6ICJzZXJ2aWNlX3JvbGUiLAogICAgImlzcyI6ICJzdXBhYmFzZS1kZW1vIiwKICAgICJpYXQiOiAxNjQxNzY5MjAwLAogICAgImV4cCI6IDE3OTk1MzU2MDAKfQ.DaYlNEoUrrEn2Ig7tqibS-PHK5vgusbcbo7X36XVt4Q
############# Dashboard - Credentials for the Supabase Studio WebUI############DASHBOARD_USERNAME=supabase # change to your own usernameDASHBOARD_PASSWORD=pigsty # change to your own password############# Database - You can change these to any PostgreSQL database that has logical replication enabled.############POSTGRES_HOST=10.10.10.10 # change to Pigsty managed PostgreSQL cluster/instance VIP/IP/HostnamePOSTGRES_PORT=5432# you can use other service port such as 5433, 5436, 6432, etc...POSTGRES_DB=supa # change to supabase database name, `supa` by default in pigstyPOSTGRES_PASSWORD=DBUser.Supa # supabase dbsu password (shared by multiple supabase biz users)
Usually you’ll have to change these parameters accordingly. Here we’ll use fixed username, password and IP:Port database connstr for simplicity.
The postgres username is fixed as supabase_admin and the password is DBUser.Supa, change that according to your supabase.yml
And the supabase studio WebUI credential is managed by DASHBOARD_USERNAME and DASHBOARD_PASSWORD, which is supabase and pigsty by default.
You can use the Primary Service of that cluster through DNS/VIP and other service ports, or whatever access method you like.
You can also configure supabase.storage service to use the MinIO service managed by pigsty, too
Once configured, you can launch the stateless part with docker-compose or make up shortcut:
cd ~/pigsty/app/supabase; make up # = docker compose up
Expose Service
The supabase studio dashboard is exposed on port 8000 by default, you can add this service to the infra_portal to expose it to the public through Nginx and SSL.
infra_portal:# domain names and upstream servers# ...supa :{domain:supa.pigsty ,endpoint:"10.10.10.10:8000", websocket:true}
To expose the service, you can run the infra.yml playbook with the nginx tag:
./infra.yml -t nginx
Make suare supa.pigsty or your own domain is resolvable to the infra_portal server, and you can access the supabase studio dashboard via https://supa.pigsty.
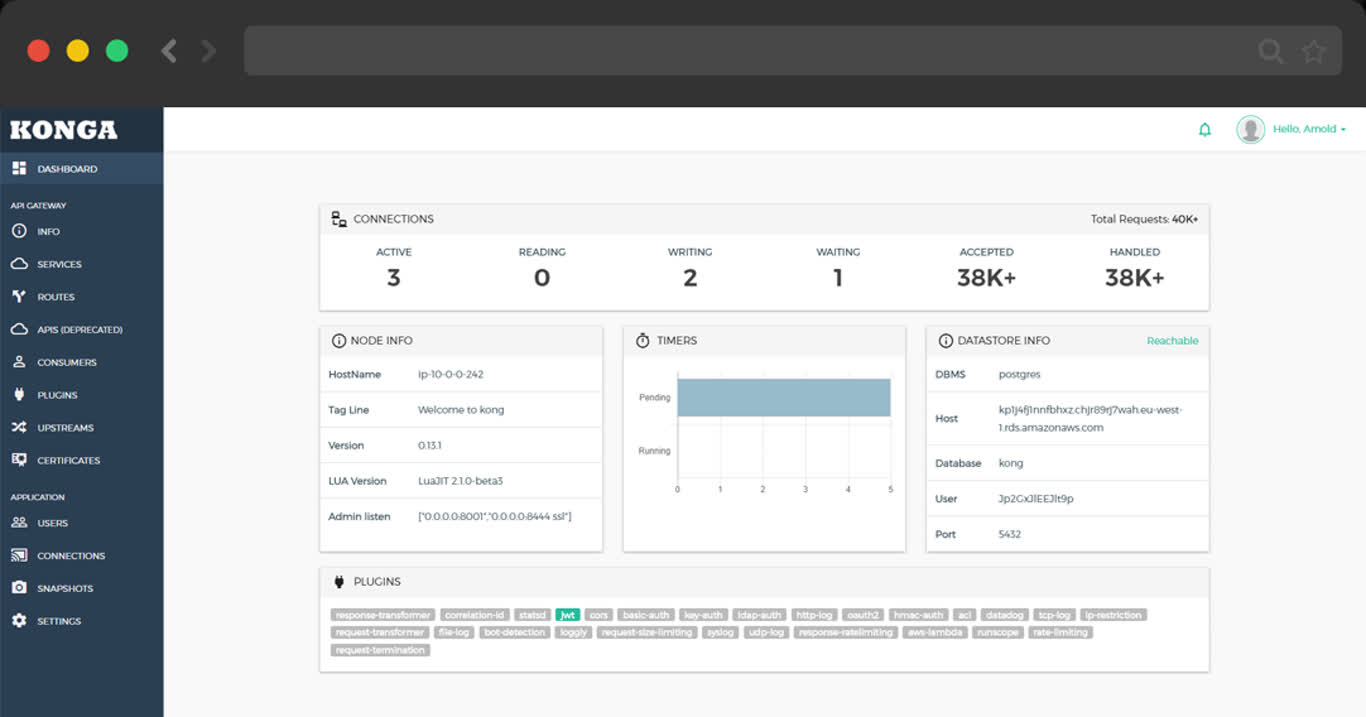
3 - Kong: the Nginx API Gateway
Learn how to deploy Kong, the API gateway, with Docker Compose and use external PostgreSQL as the backend database
TL;DR
cd app/kong ; docker compose up -d
make up # pull up kong with docker-composemake ui # run swagger ui containermake log # tail -f kong logsmake info # introspect kong with jqmake stop # stop kong containermake clean # remove kong containermake rmui # remove swagger ui containermake pull # pull latest kong imagemake rmi # remove kong imagemake save # save kong image to /tmp/kong.tgzmake load # load kong image from /tmp
importpsycopg2conn=psycopg2.connect('postgres://dbuser_dba:[email protected]:5432/meta')cursor=conn.cursor()cursor.execute('SELECT * FROM pg_stat_activity')foriincursor.fetchall():print(i)
Alias
make up # pull up jupyter with docker composemake dir # create required /data/jupyter and set ownermake run # launch jupyter with dockermake view # print jupyter access pointmake log # tail -f jupyter logsmake info # introspect jupyter with jqmake stop # stop jupyter containermake clean # remove jupyter containermake pull # pull latest jupyter imagemake rmi # remove jupyter imagemake save # save jupyter image to /tmp/docker/jupyter.tgzmake load # load jupyter image from /tmp/docker/jupyter.tgz
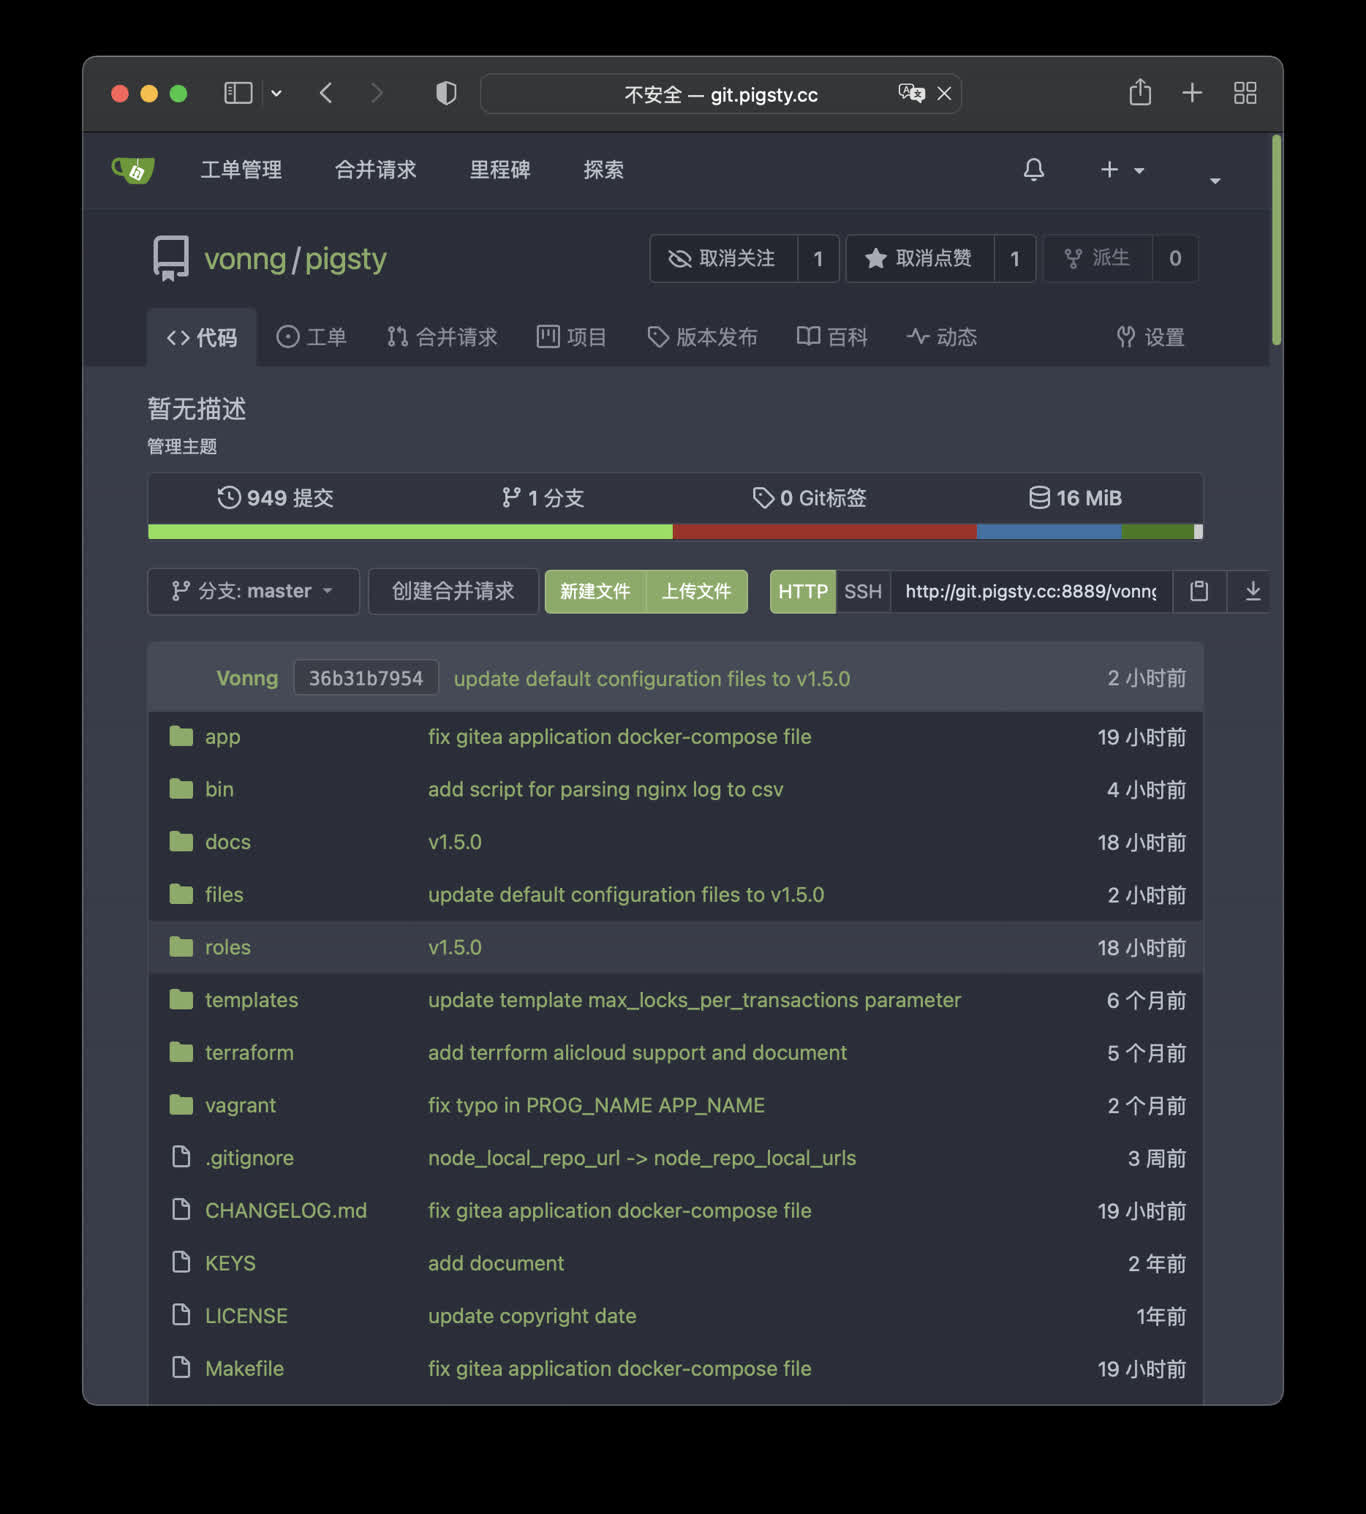
5 - Gitea: Simple Self-Hosting Git Service
Launch the self-hosting Git service with Gitea and Pigsty managed PostgreSQL
make up # pull up gitea with docker-compose in minimal modemake run # launch gitea with docker , local data dir and external PostgreSQLmake view # print gitea access pointmake log # tail -f gitea logsmake info # introspect gitea with jqmake stop # stop gitea containermake clean # remove gitea containermake pull # pull latest gitea imagemake rmi # remove gitea imagemake save # save gitea image to /tmp/gitea.tgzmake load # load gitea image from /tmp
PostgreSQL Preparation
Gitea use built-in SQLite as default metadata storage, you can let Gitea use external PostgreSQL by setting connection string environment variable
docker run -p 9000:9000 -p 9001:9001 \
-e "MINIO_ROOT_USER=admin"\
-e "MINIO_ROOT_PASSWORD=pigsty.minio"\
minio/minio server /data --console-address ":9001"
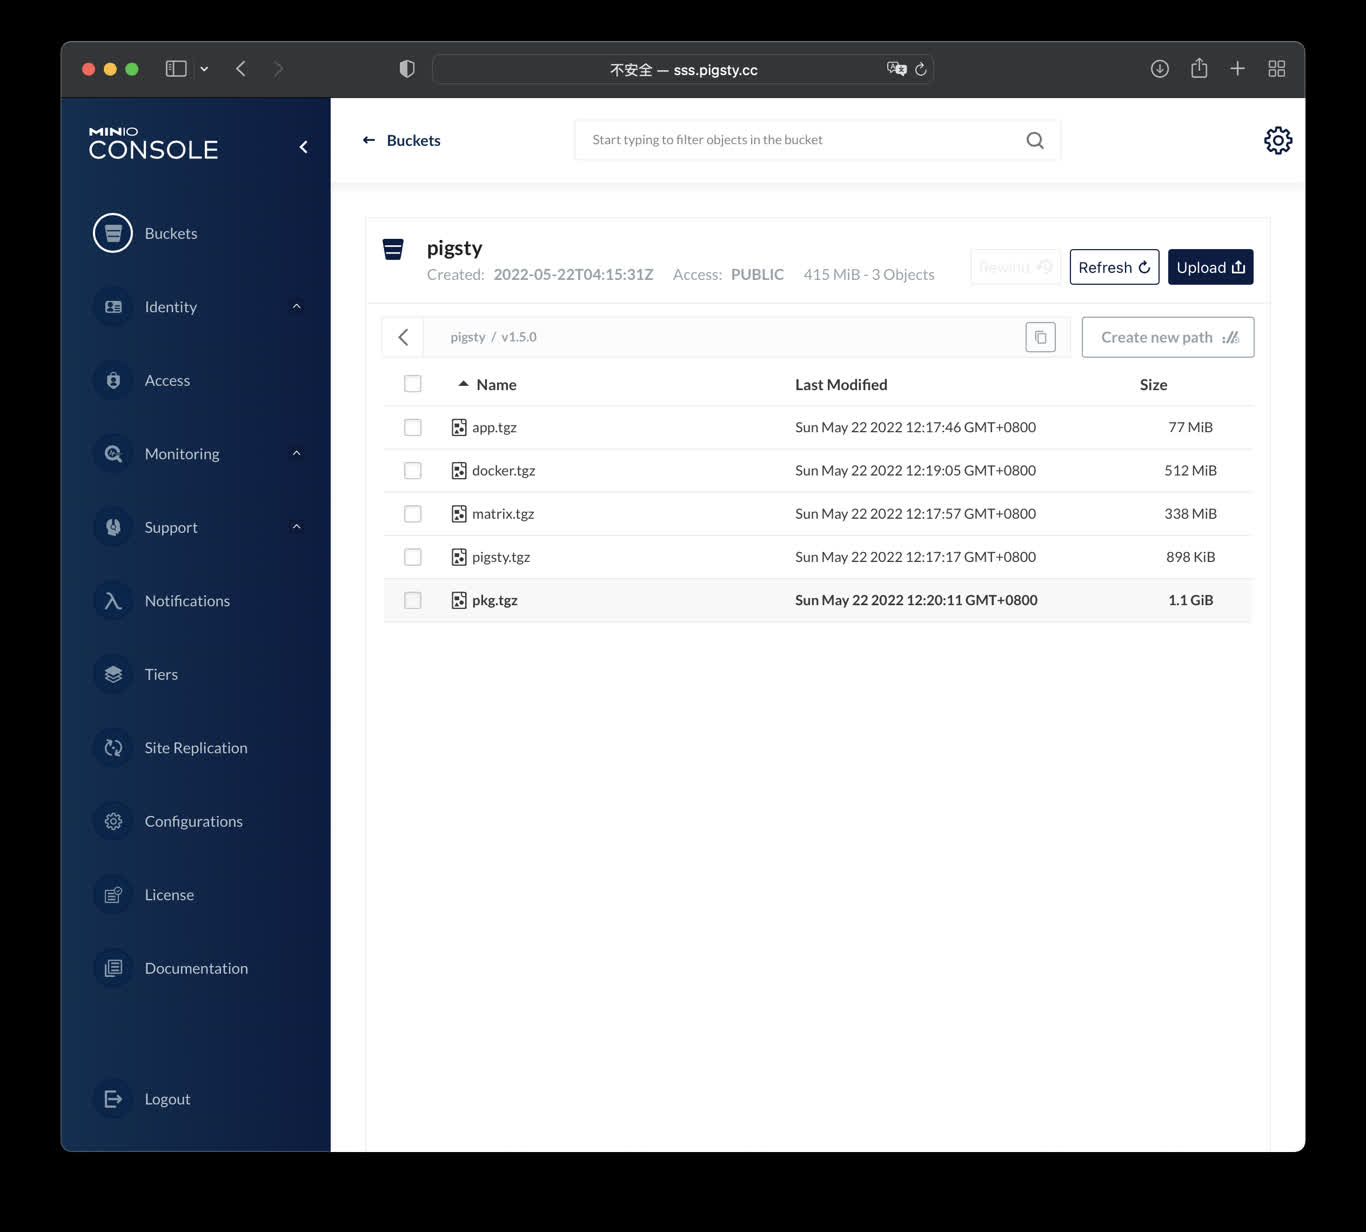
The standalone docker run example is available at http://10.10.10.10:9000 with user admin and password pigsty.minio.
make up # pull up minio with docker-composemake run # launch minio with dockermake view # print minio access pointmake log # tail -f minio logsmake info # introspect minio with jqmake stop # stop minio containermake clean # remove minio containermake pull # pull latest minio imagemake rmi # remove minio imagemake save # save minio image to /tmp/minio.tgzmake load # load minio image from /tmp
8 - ByteBase: PG Schema Migration
Self-hosting bytebase with PostgreSQL managed by Pigsty
ByteBase
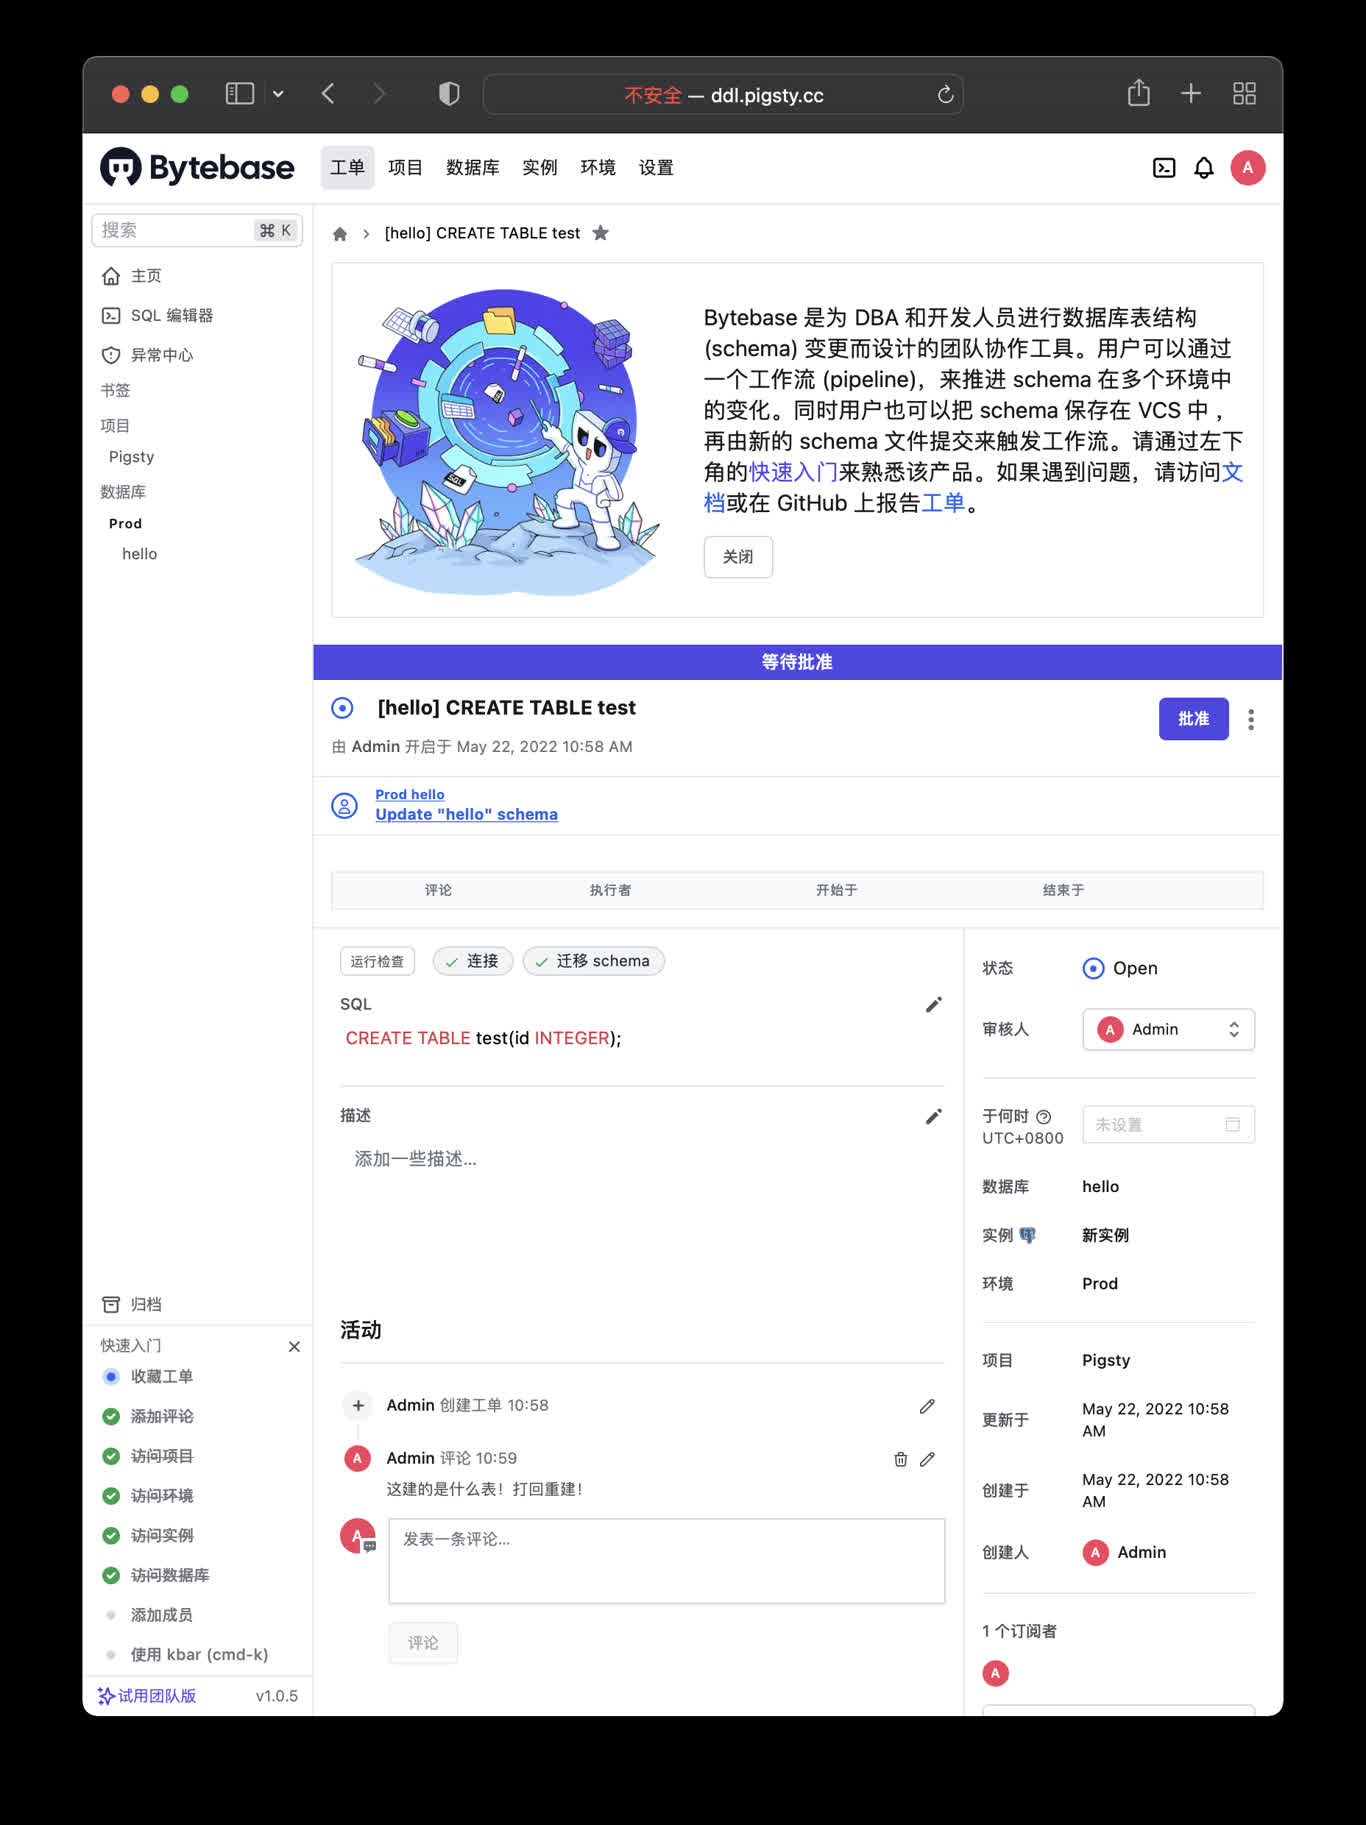
ByteBase is a database schema change management tool, which is a tool for database schema changes. The following command will start a ByteBase on the meta node 8887 port by default.
make up # pull up bytebase with docker-compose in minimal modemake run # launch bytebase with docker , local data dir and external PostgreSQLmake view # print bytebase access pointmake log # tail -f bytebase logsmake info # introspect bytebase with jqmake stop # stop bytebase containermake clean # remove bytebase containermake pull # pull latest bytebase imagemake rmi # remove bytebase imagemake save # save bytebase image to /tmp/bytebase.tgzmake load # load bytebase image from /tmp
PostgreSQL Preparation
Bytebase use its internal PostgreSQL database by default, You can use external PostgreSQL for higher durability.
If you wish to perform CRUD operations and design more fine-grained permission control, please refer
to Tutorial 1 - The Golden Key to generate a signed JWT.
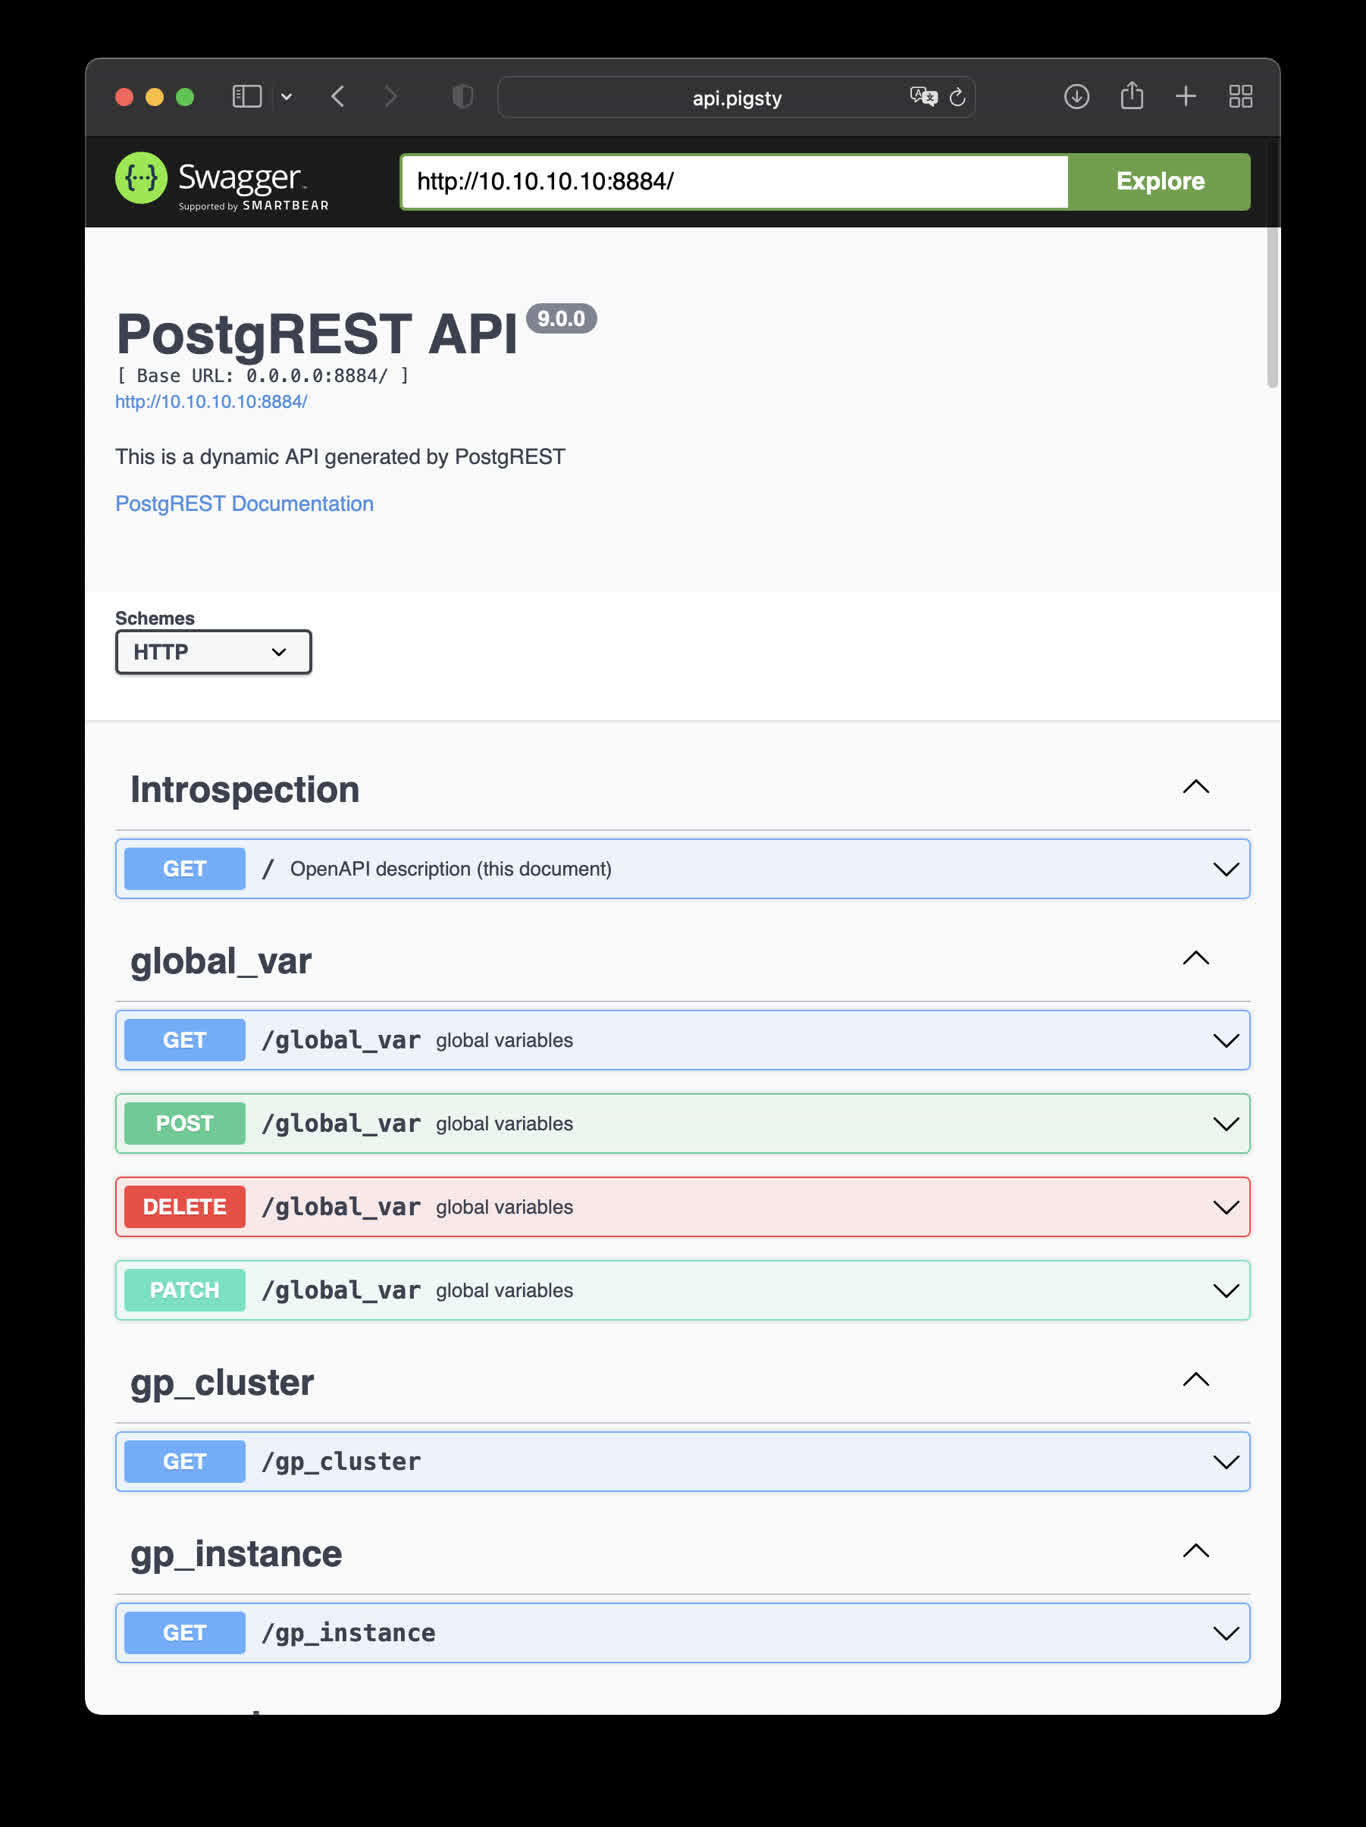
This is an example of creating pigsty cmdb API with PostgREST
cd ~/pigsty/app/postgrest ; docker compose up -d
http://10.10.10.10:8884 is the default endpoint for PostgREST
http://10.10.10.10:8883 is the default api docs for PostgREST
make up # pull up postgrest with docker-composemake run # launch postgrest with dockermake ui # run swagger ui containermake view # print postgrest access pointmake log # tail -f postgrest logsmake info # introspect postgrest with jqmake stop # stop postgrest containermake clean # remove postgrest containermake rmui # remove swagger ui containermake pull # pull latest postgrest imagemake rmi # remove postgrest imagemake save # save postgrest image to /tmp/postgrest.tgzmake load # load postgrest image from /tmp
Swagger UI
Launch a swagger OpenAPI UI and visualize PostgREST API on 8883 with: