make up # pull up odoo with docker compose in minimal modemake run # launch odoo with docker , local data dir and external PostgreSQLmake view # print odoo access pointmake log # tail -f odoo logsmake info # introspect odoo with jqmake stop # stop odoo containermake clean # remove odoo containermake pull # pull latest odoo imagemake rmi # remove odoo imagemake save # save odoo image to /tmp/docker/odoo.tgzmake load # load odoo image from /tmp/docker/odoo.tgz
Use External PostgreSQL
You can use external PostgreSQL for Odoo. Odoo will create its own database during setup, so you don’t need to do that
pg_users:[{name:dbuser_odoo ,password:DBUser.Odoo ,pgbouncer:true ,roles:[ dbrole_admin ] ,comment:admin user for odoo database } ]pg_databases:[{name:odoo ,owner:dbuser_odoo ,revokeconn:true ,comment:odoo primary database } ]
And create business user & database with:
bin/pgsql-user  pg-meta  dbuser_odoo
#bin/pgsql-db    pg-meta  odoo     # odoo will create the database during setup
cd app/supabase; make up # https://supabase.com/docs/guides/self-hosting/docker
Then you can access the supabase studio dashboard via http://<admin_ip>:8000 by default, the default dashboard username is supabase and password is pigsty.
You can also configure the infra_portal to expose the WebUI to the public through Nginx and SSL.
pg edit-config pg-meta --force -p pgsodium.enable_event_trigger='off'# setup pgsodium event triggerpg restart pg-meta # restart pg-meta to enable the new configurationpsql ${PGURL} -c 'SHOW pgsodium.enable_event_trigger;'# should be off or false
启用 pg_cron 扩展插件
pg_cron 是一个可选的扩展插件,用于在 PostgreSQL 中执行定时任务,但不幸地是,你只能选择一个数据库安装此扩展。如果你想要在 supa 数据库中启用可选的 pg_cron 支持,你可以使用以下命令:
pg edit-config pg-meta --force -p cron.database_name='supa'# setup pg_cron database_name parameterpsql ${PGURL} -c 'SHOW cron.database_name;'# should be the underlying database name for supabasepsql ${PGURL} -c 'CREATE EXTENSION pg_cron;';# create pg_cron extension on the database 'supa'
Everything you need to care about is in the .env file, which contains important settings for supabase. It is already configured to use the pg-meta.supa database by default, You have to change that according to your actual deployment.
############# Secrets - YOU MUST CHANGE THESE BEFORE GOING INTO PRODUCTION############# you have to change the JWT_SECRET to a random string with at least 32 characters long# and issue new ANON_KEY/SERVICE_ROLE_KEY JWT with that new secret, check the tutorial:# https://supabase.com/docs/guides/self-hosting/docker#securing-your-servicesJWT_SECRET=your-super-secret-jwt-token-with-at-least-32-characters-long
ANON_KEY=eyJhbGciOiJIUzI1NiIsInR5cCI6IkpXVCJ9.eyAgCiAgICAicm9sZSI6ICJhbm9uIiwKICAgICJpc3MiOiAic3VwYWJhc2UtZGVtbyIsCiAgICAiaWF0IjogMTY0MTc2OTIwMCwKICAgICJleHAiOiAxNzk5NTM1NjAwCn0.dc_X5iR_VP_qT0zsiyj_I_OZ2T9FtRU2BBNWN8Bu4GE
SERVICE_ROLE_KEY=eyJhbGciOiJIUzI1NiIsInR5cCI6IkpXVCJ9.eyAgCiAgICAicm9sZSI6ICJzZXJ2aWNlX3JvbGUiLAogICAgImlzcyI6ICJzdXBhYmFzZS1kZW1vIiwKICAgICJpYXQiOiAxNjQxNzY5MjAwLAogICAgImV4cCI6IDE3OTk1MzU2MDAKfQ.DaYlNEoUrrEn2Ig7tqibS-PHK5vgusbcbo7X36XVt4Q
############# Dashboard - Credentials for the Supabase Studio WebUI############DASHBOARD_USERNAME=supabase # change to your own usernameDASHBOARD_PASSWORD=pigsty # change to your own password############# Database - You can change these to any PostgreSQL database that has logical replication enabled.############POSTGRES_HOST=10.10.10.10 # change to Pigsty managed PostgreSQL cluster/instance VIP/IP/HostnamePOSTGRES_PORT=5432# you can use other service port such as 5433, 5436, 6432, etc...POSTGRES_DB=supa # change to supabase database name, `supa` by default in pigstyPOSTGRES_PASSWORD=DBUser.Supa # supabase dbsu password (shared by multiple supabase biz users)
Usually you’ll have to change these parameters accordingly. Here we’ll use fixed username, password and IP:Port database connstr for simplicity.
The postgres username is fixed as supabase_admin and the password is DBUser.Supa, change that according to your supabase.yml
And the supabase studio WebUI credential is managed by DASHBOARD_USERNAME and DASHBOARD_PASSWORD, which is supabase and pigsty by default.
You can use the Primary Service of that cluster through DNS/VIP and other service ports, or whatever access method you like.
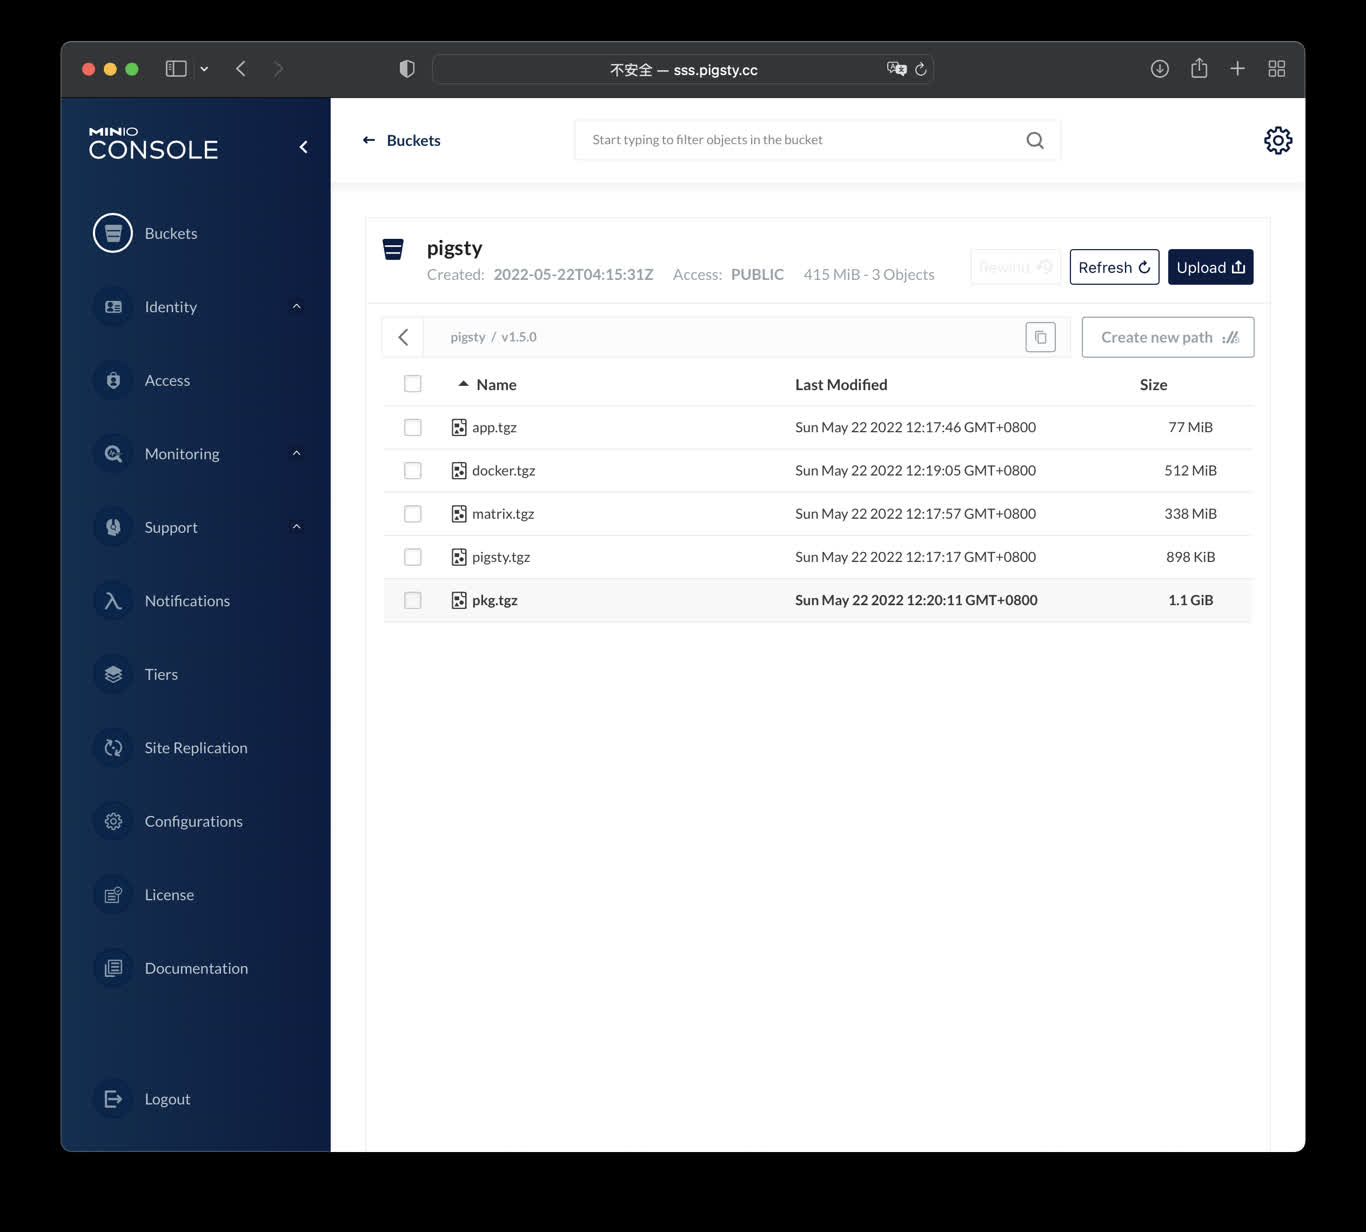
You can also configure supabase.storage service to use the MinIO service managed by pigsty, too
Once configured, you can launch the stateless part with docker-compose or make up shortcut:
cd ~/pigsty/app/supabase; make up # = docker compose up
对外暴露服务
Supabase Studio 提供了一个 Web 管理界面,默认监听 8000 端口,你可以将其加入 infra_portal,来对外 暴露服务。
infra_portal:# domain names and upstream servers# ...supa :{domain:supa.pigsty ,endpoint:"10.10.10.10:8000", websocket:true}
To expose the service, you can run the infra.yml playbook with the nginx tag:
./infra.yml -t nginx
Make suare supa.pigsty or your own domain is resolvable to the infra_portal server, and you can access the supabase studio dashboard via https://supa.pigsty.
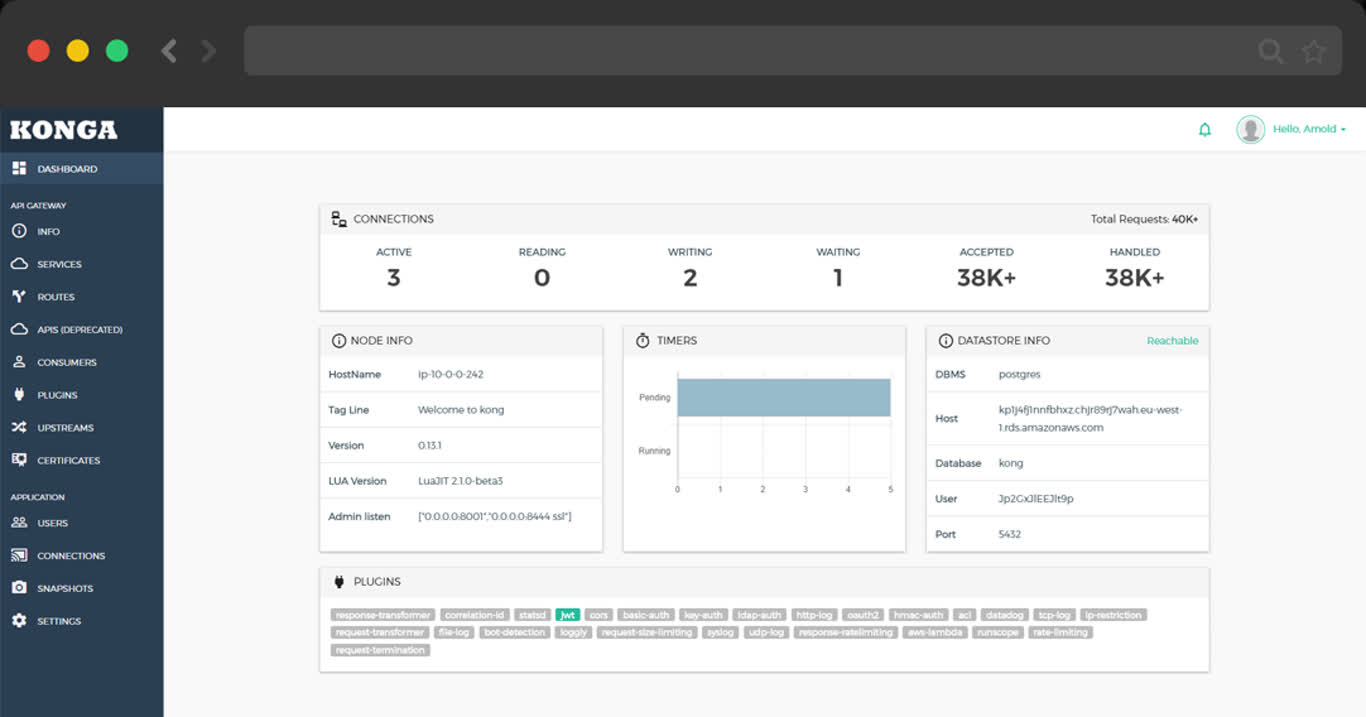
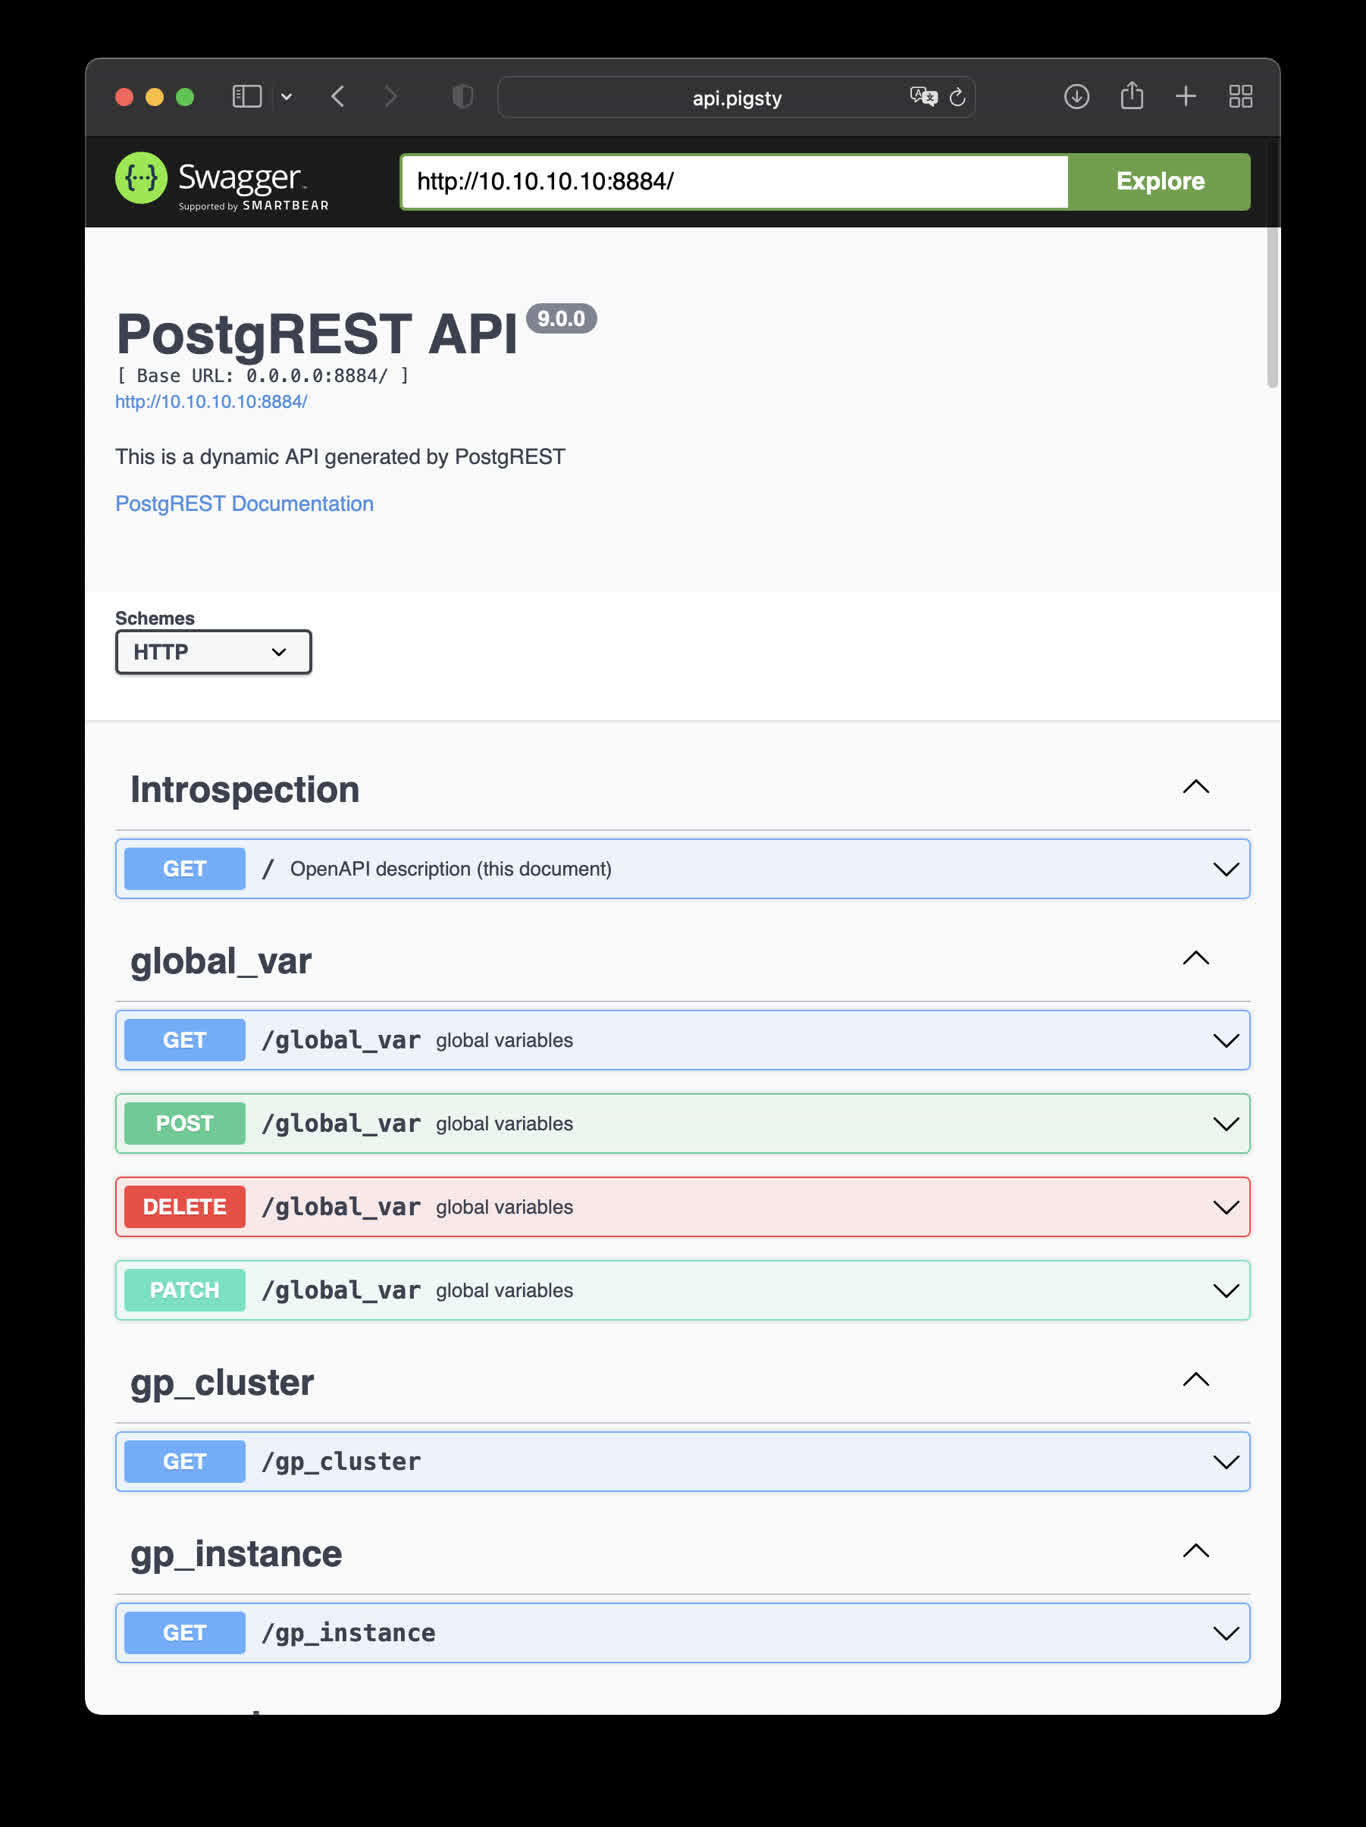
make up # pull up kong with docker-composemake ui # run swagger ui containermake log # tail -f kong logsmake info # introspect kong with jqmake stop # stop kong containermake clean # remove kong containermake rmui # remove swagger ui containermake pull # pull latest kong imagemake rmi # remove kong imagemake save # save kong image to /tmp/kong.tgzmake load # load kong image from /tmp
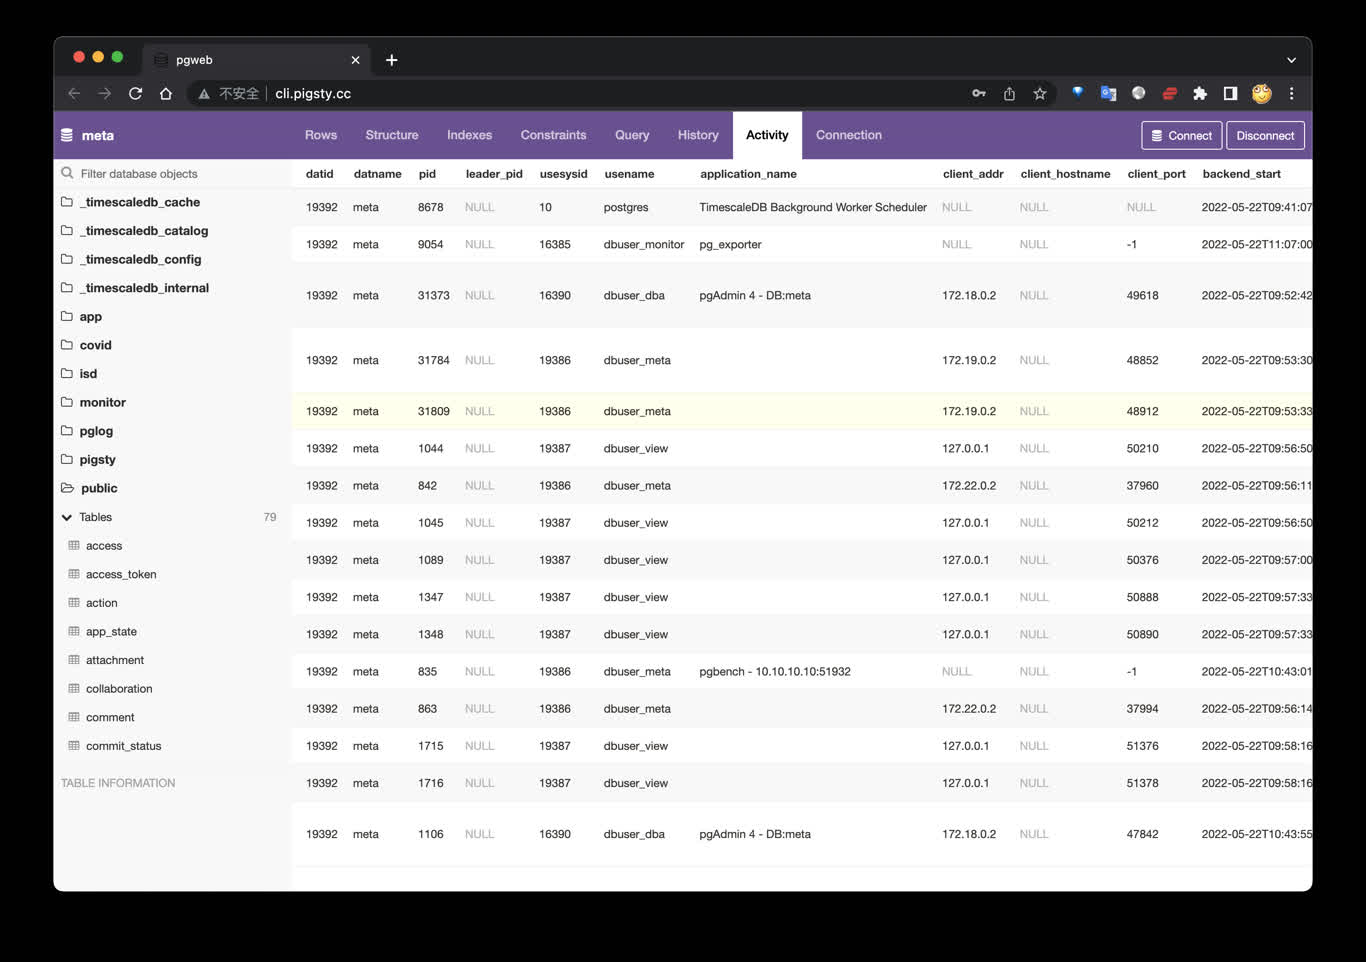
importpsycopg2conn=psycopg2.connect("postgres://dbuser_dba:[email protected]:5432/meta")cursor=conn.cursor()cursor.execute("SELECT * FROM pg_stat_activity")rows=cursor.fetchall()
Makefile 命令
make up # 使用 Docker Compose 启动 Jupytermake dir # 创建 /data/jupyter 并设置属主make run # 使用 docker run 启动 Jupytermake view # 打印访问地址make log # 查看容器日志make info # 使用 jq 检查容器make stop # 停止容器make clean # 删除容器make pull # 拉取镜像make rmi # 删除镜像make save # 保存镜像到 /tmp/docker/jupyter.tgzmake load # 从 /tmp/docker/jupyter.tgz 载入镜像
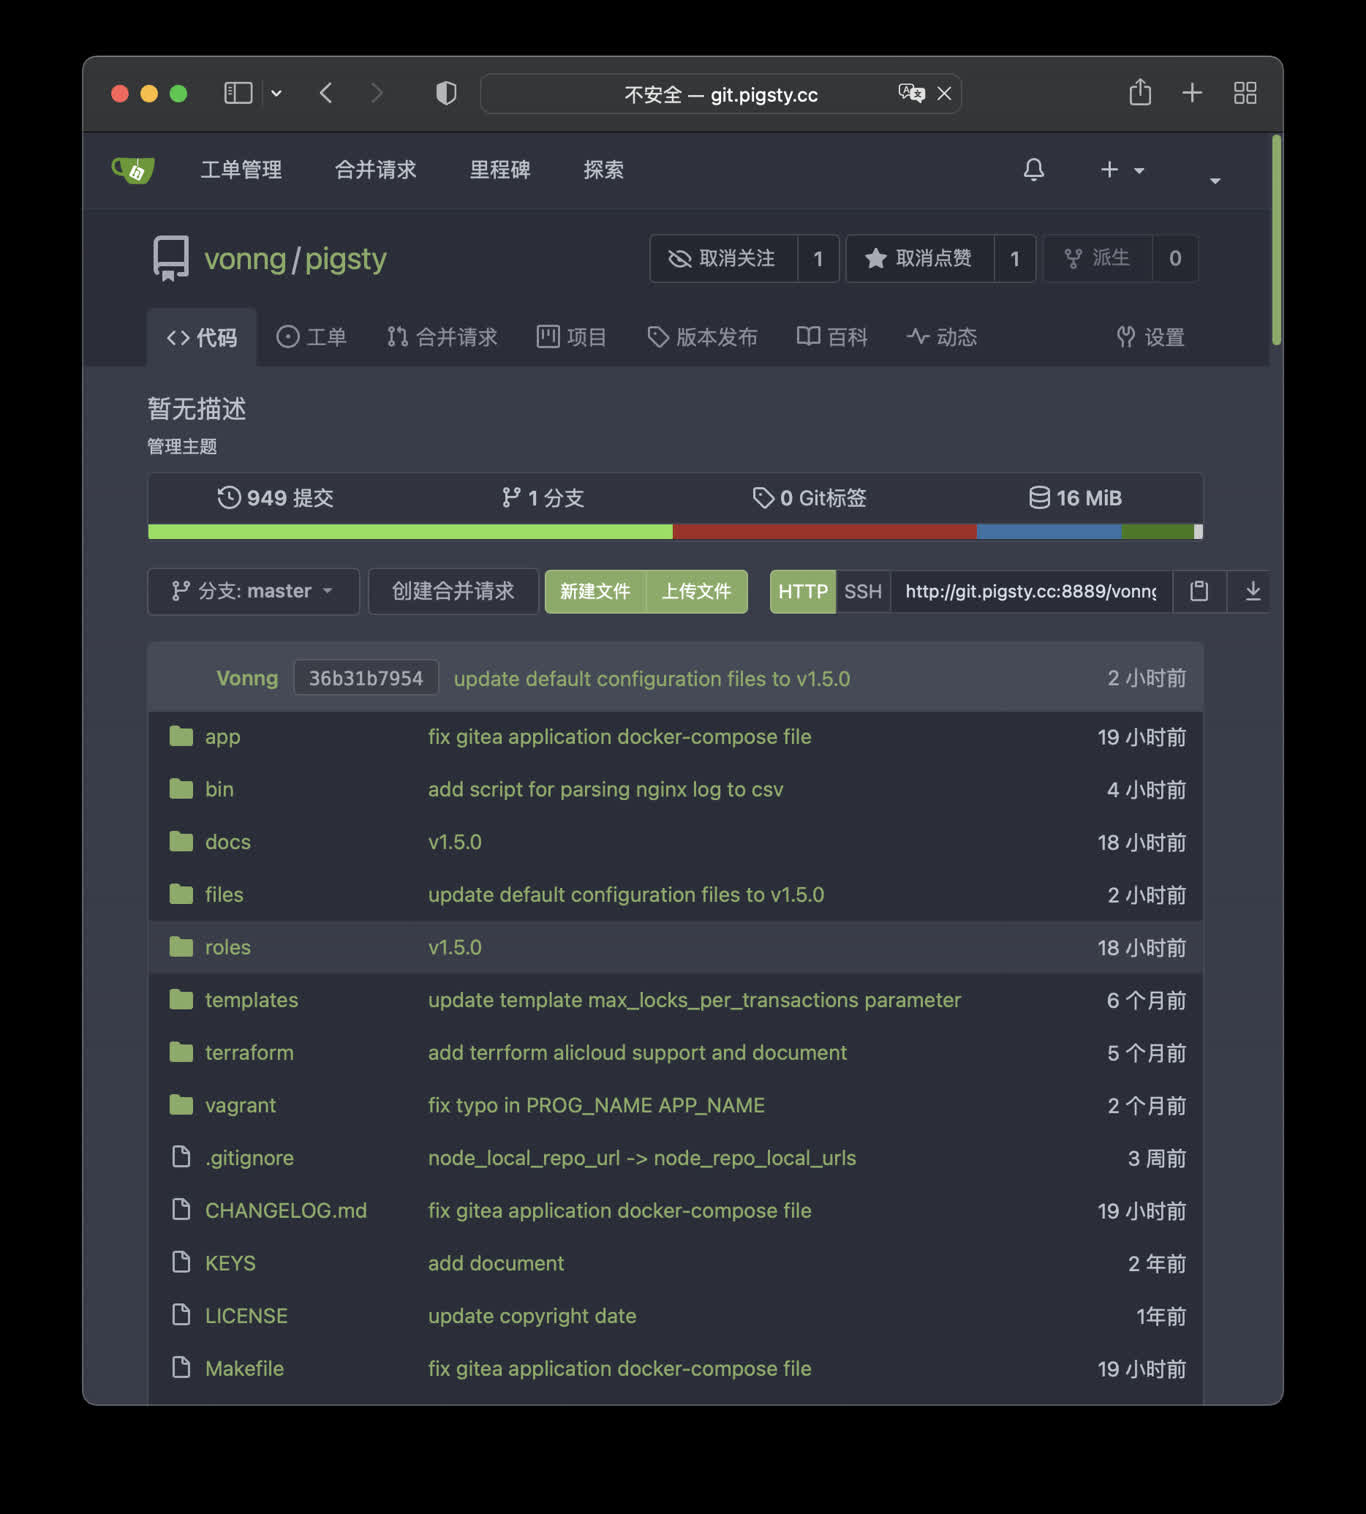
make up # pull up gitea with docker-compose in minimal modemake run # launch gitea with docker , local data dir and external PostgreSQLmake view # print gitea access pointmake log # tail -f gitea logsmake info # introspect gitea with jqmake stop # stop gitea containermake clean # remove gitea containermake pull # pull latest gitea imagemake rmi # remove gitea imagemake save # save gitea image to /tmp/gitea.tgzmake load # load gitea image from /tmp
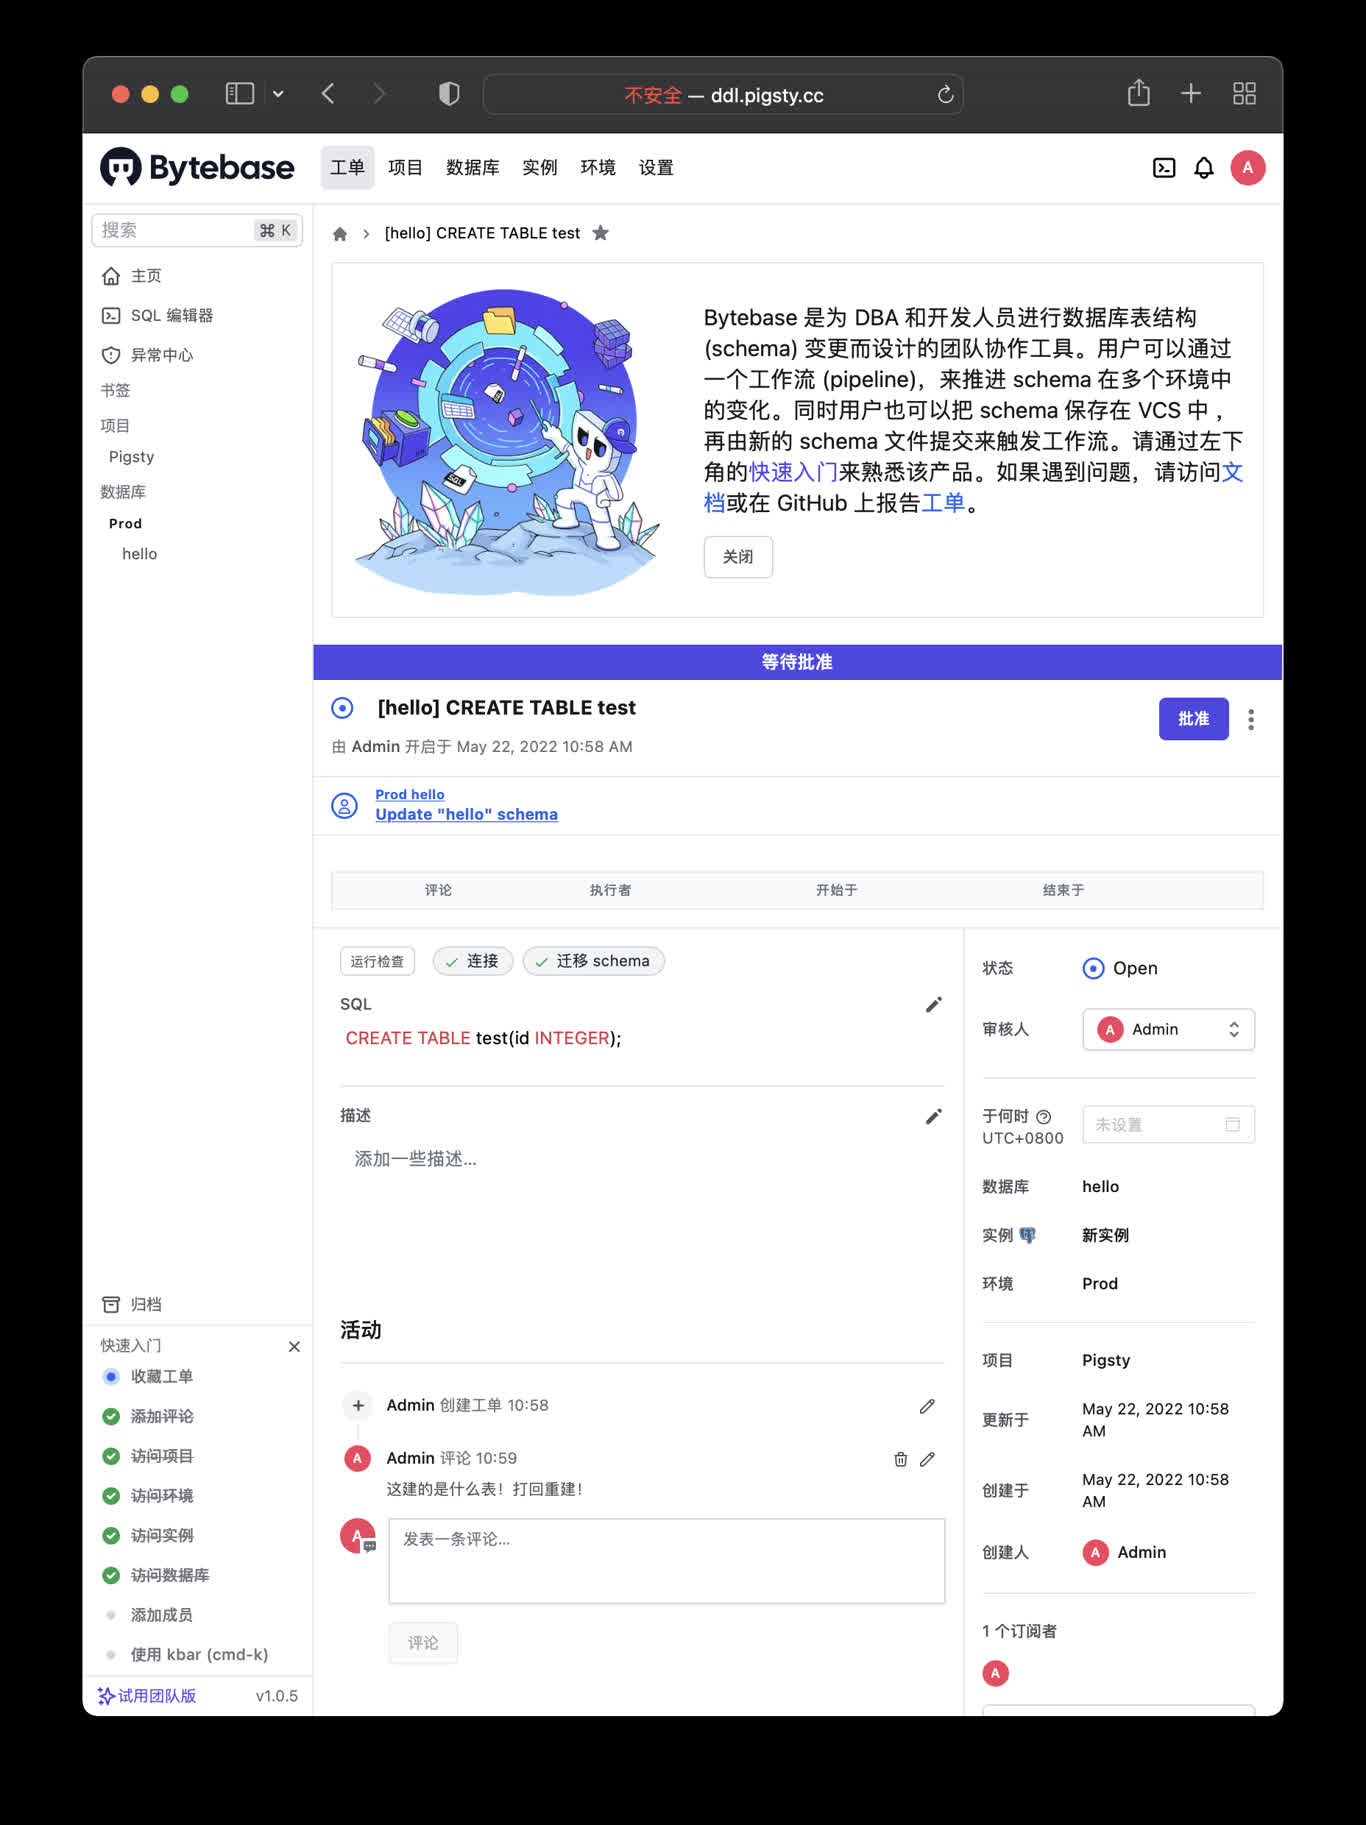
make up # pull up bytebase with docker-compose in minimal modemake run # launch bytebase with docker , local data dir and external PostgreSQLmake view # print bytebase access pointmake log # tail -f bytebase logsmake info # introspect bytebase with jqmake stop # stop bytebase containermake clean # remove bytebase containermake pull # pull latest bytebase imagemake rmi # remove bytebase imagemake save # save bytebase image to /tmp/bytebase.tgzmake load # load bytebase image from /tmp
使用外部的PostgreSQL
Bytebase use its internal PostgreSQL database by default, You can use external PostgreSQL for higher durability.